
I’m trying to find a safe place to begin with this topic. You see, some photographers love to edit and some don’t. Personally, I’m one of those photographers who hated editing in the beginning. It was mostly because Photoshop scared the bee-gesus out of me! Now, just try to get the brush tool out of my hand if you dare. However in food photography editing is quite different than say for a fashion shoot or a wedding. Your touch has to be light, realistic and believable. You’ll find professionals and non-professionals who just won’t edit their food pictures aside from just a tweak here or there and that may primarily be dictated by their clients or personal taste. Since food photography is new to me I’m going to stay on the safe side of the fence for now.
Below are some images of spaghetti that I took the other day. Ok, it isn’t really spaghetti so much as it is some whole wheat pasta, two tablespoons of ketchup mashed between my fingers, and a few sprinkling of parsley. Sometimes I have time to do the legwork like shop, prep, cook and get my camera and other times there just is no time. Once you take a look at the images below you will also notice that a few lessons in food and prop arrangement are next on my to do list. Today i’m just focusing on editing food images.
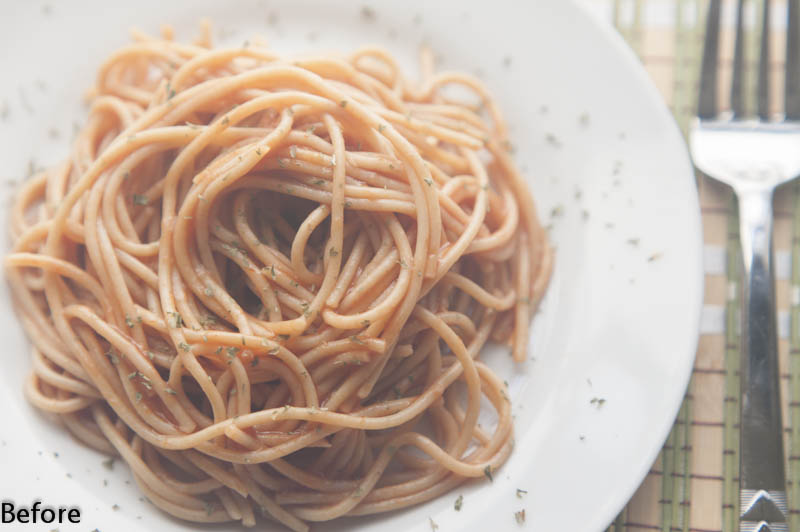
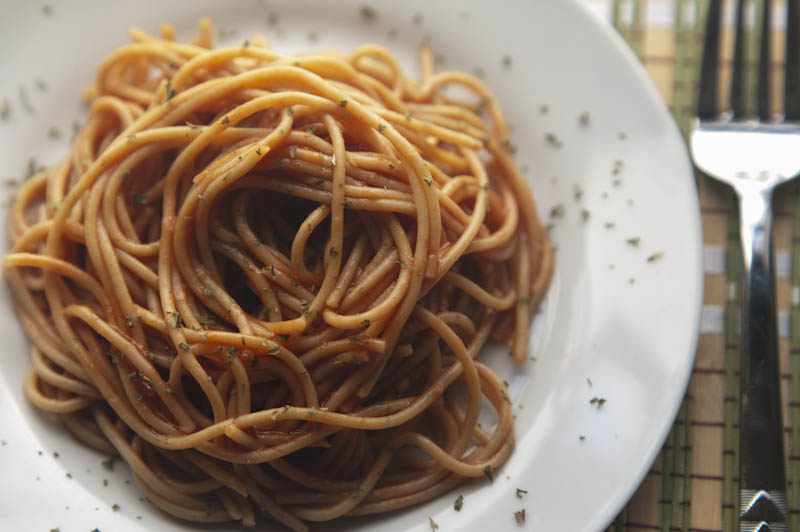
I won’t go into too much detail about file formats, editing programs and transfer methods because that can take quite sometime. What I wanted to just briefly demonstrate is the drastic difference a fresh, “straight out of camera” image can look. Unless you are shooting JPEG format your images are going to look severely washed out and will require some basice editing clean up. In the after image I checked the white balance, and then in Photoshop I added a layer of overlay to draw in some deeper color of the pasta and parsley. I also create a layer of softlight to bring out the color on the edge of the plate. There wasn’t too much I could do with the shine on the fork other than managing the shine better by either changing it’s position or adding another layer of diffusion to back the shine down. I also added in a layer of High Pass just to give an extra pop of sharpening.
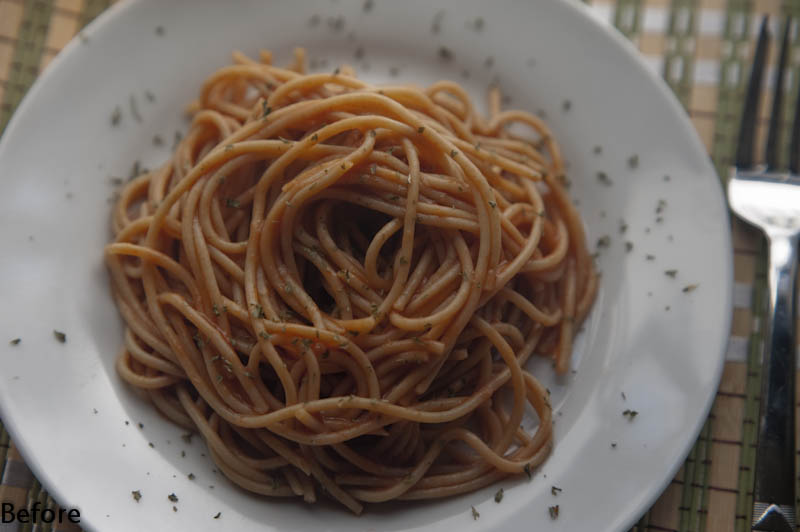

The same method of editing was done on this image. I just used a little Overlay, Softlight and HighPass filter. As I mentioned before next on my to do list is learning how to become a better plater, and stylist by adjusting the props and fixing the garnish. I can say with all honesty that after watching Andrew Scrivani’s Creative Live Course my interest and photos with regard to food have improved.


This is the final set of images of the spaghetti debacle. I definitely try to keep so much in mind while creating food shoots now. One of the most important things that will save you in editing is crop in camera not afterwards. Your pixels will thank you. The only new addition in this edit was the healing brush. In the original image there were a few scratches and miscellaneous dots. Of course, this is another one of those minor details that can save you time in Photoshop if you catch it while you or shooting. Actually, if you catch it before the shoot begins you’re ahead of the game. So I preformed a spot healing clean-up, then an overlay layer on the pasta, a softlight layer on the plate and then an overall high pass filter layer on the image. So simple is better but if you like fancy by all means — go crazy! The bottom line is that doing what works best for you, your workflow and your clients is priority.
